Managing Custom Fields in CareLaunch
Custom fields in CareLaunch allow you to tailor the platform to your specific needs by adding additional information fields that are unique to your organization. This guide will walk you through the steps to create, edit, and manage custom fields.
Creating a Custom Field
-
Navigate to Settings:
- On the left sidebar, click on Settings.
- On the left sidebar, click on Settings.
-
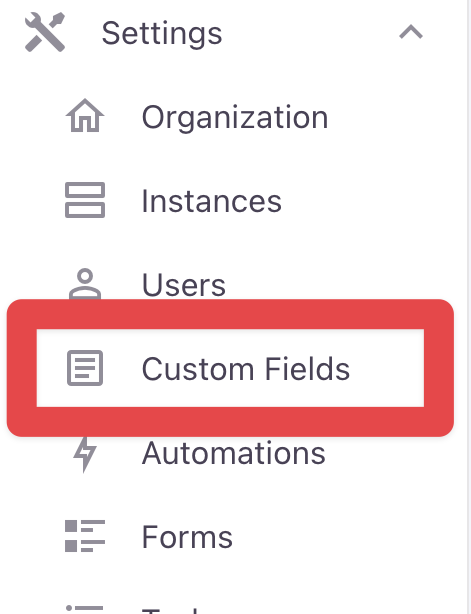
Access Custom Fields:
- In the settings menu, select Custom Fields.
-
Add a New Custom Field:
- Click on the + button at the top right corner to add a new custom field.
-
Configure the Custom Field:
- Display: Enter the name of the custom field as you want it to appear (e.g., Condition).
- Code: Enter a unique identifier for the custom field (e.g., condition).
- Type: Select the data type for the custom field from the dropdown menu. The available types are:
- String: For text inputs.
- Boolean: For true/false values.
- Integer: For whole numbers.
- Decimal: For numbers with decimal points.
- Date: For date values.
- DateTime: For date and time values.
-
Save the Custom Field:
- After configuring the custom field, click Save at the top right corner.
Editing a Custom Field
-
Navigate to Custom Fields:
- Go to Settings and select Custom Fields.
-
Select the Field to Edit:
- Find the custom field you wish to edit from the list and click on it.
-
Edit the Field:
- Modify the display name, code, or type as needed.
-
Save Changes:
- Click Save to apply the changes.
Deleting a Custom Field
-
Navigate to Custom Fields:
- Go to Settings and select Custom Fields.
-
Select the Field to Delete:
- Find the custom field you wish to delete from the list and click on it.
-
Delete the Field:
- Click on the delete icon (usually represented by a trash can or similar symbol).
-
Confirm Deletion:
- Confirm the deletion when prompted to remove the custom field permanently.
Tips for Managing Custom Fields
- Plan Ahead: Before creating custom fields, plan what data you need to collect and how it will be used. This helps in maintaining a structured and efficient data system.
- Use Clear Naming Conventions: Use clear and descriptive names for both the display and code fields to avoid confusion.
- Regular Review: Periodically review and clean up custom fields to remove any that are no longer needed.
By following these steps, you can effectively manage custom fields in CareLaunch to ensure your data collection aligns with your organizational needs.